
Rockwool Vapor Barrier Installation: The Huntington Beach Owner’s Guide
Rockwool vapor barrier installation in Huntington Beach typically runs $1.50 to $3.25 per square foot installed, and most single-room or crawl space jobs land between $900 and $2,800. We stock Rockwool-compatible vapor barrier materials on our trucks and can usually be on-site within 24 hours for a quote, often same-day for urgent crawl space work. Most Huntington Beach homeowners discover their vapor barrier has failed when they notice condensation on the inside of an exterior wall, a musty crawl space smell drifting up through the floor, or visible damp spots on drywall near the baseboards. The plastic sheeting tears, pulls loose from the wall, or gets punctured during other work, and once that happens, moisture moves through the Rockwool batts and into your framing.
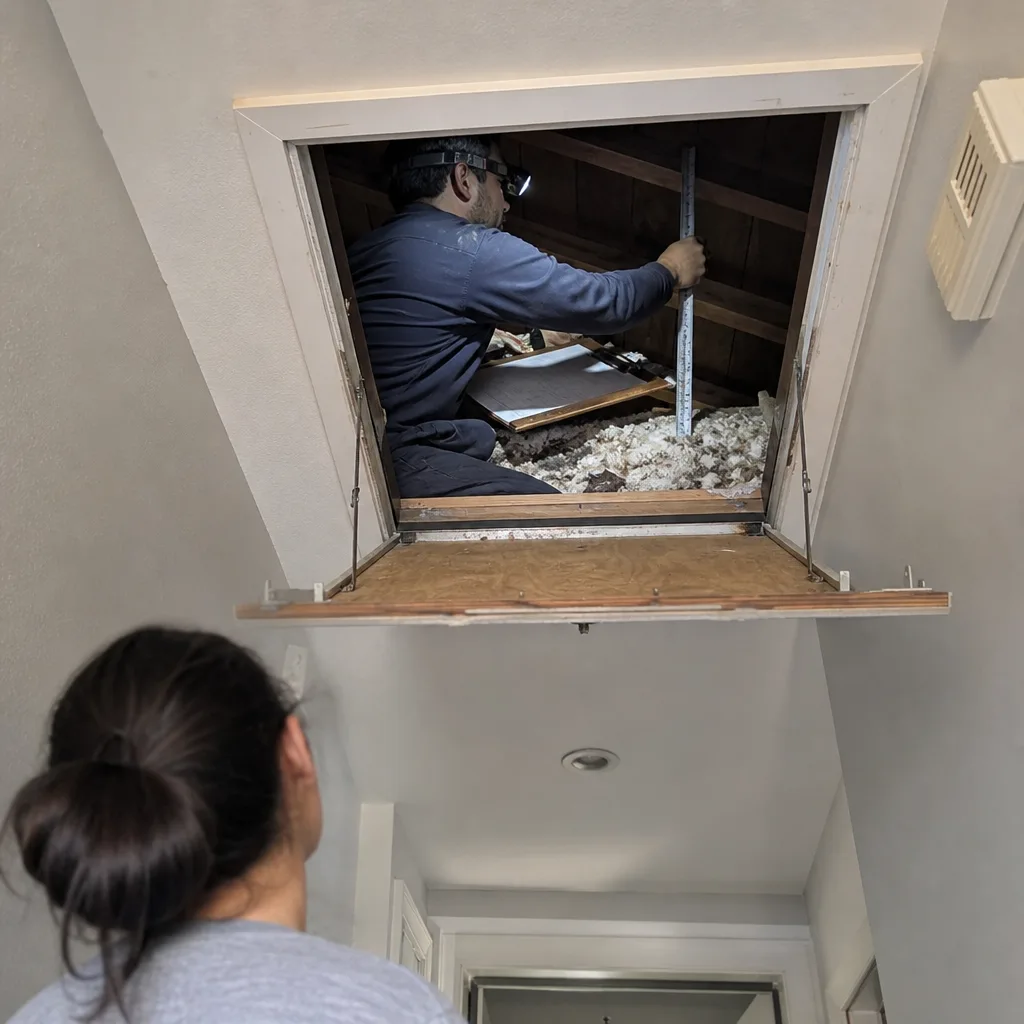
We’re an independent installer, not affiliated with Rockwool. We install their products because they hold up in coastal humidity better than most, but when a moisture barrier fails, the problem isn’t usually the Rockwool itself. It’s the polyethylene or smart vapor retarder layer that was installed alongside it, and that’s what we’d be out here to fix.
Which Rockwool Models This Applies To
This applies to any Rockwool batt or board product used in a wall, floor, or crawl space assembly that includes a separate vapor barrier layer, including ComfortBatt, Safe’n’Sound, and Rockboard installations. The barrier itself is a 6-mil or 10-mil polyethylene sheet or a smart vapor retarder like CertainTeed MemBrain, installed on the warm-in-winter side of the wall cavity. In Huntington Beach’s climate, that’s the interior side of exterior walls in most cases, though crawl space work flips the logic and puts the barrier on the ground and up the foundation walls.
The compatibility gotcha most owners miss: Rockwool is vapor-open, meaning it lets moisture pass through by design. It doesn’t come with a factory-attached vapor barrier like some fiberglass batts do. So the barrier is a field-installed layer, and if someone used the wrong type or skipped it entirely, the Rockwool is doing nothing to stop moisture migration. If you can see the edge of plastic sheeting behind your drywall or in your crawl space, that’s your barrier. If you can’t, it may never have been installed correctly or at all, which is a common finding in homes built before California’s current energy code tightened vapor control requirements.
Signs Your Rockwool Vapor Barrier Installation Is Failing
- Damp or discolored drywall near the floor. Moisture is wicking up through the wall assembly because the barrier has a gap or tear, and it’s showing up as a water stain or soft spot on the interior face. This is usually first visible in corners or behind furniture where airflow is poor.
- Musty odor that gets stronger in summer. Huntington Beach’s marine layer keeps crawl spaces and wall cavities humid for months at a time. A torn vapor barrier lets that moisture reach the Rockwool and framing, and what you’re smelling is the start of mold activity on the paper facing or the wood itself.
- Condensation on interior walls on cool mornings. When warm indoor air contacts a cold wall surface, water beads up. A functioning vapor barrier slows that moisture movement. When you see persistent condensation in the same wall section, the barrier in that cavity has likely failed.
- Insulation that feels heavy, compressed, or wet. Rockwool is naturally water-repellent, which is one reason it’s popular in coastal California. But even Rockwool can’t shed water forever if a failed barrier is feeding moisture into the wall constantly. Wet or sagging batts mean the barrier has been compromised long enough to saturate the cavity.
- Peeling paint or bubbling drywall texture. Moisture trapped behind interior paint causes it to lose adhesion. If you’re seeing this in isolated wall sections with no plumbing nearby, the vapor barrier is the most likely culprit.
Replacement Cost & What’s Included
For Huntington Beach homes, expect to pay $1.50 to $2.25 per square foot for crawl space vapor barrier replacement, and $2.00 to $3.25 per square foot for wall cavity work that requires opening drywall, removing old barrier material, and reinstalling new sheeting plus Rockwool. The range comes down to access: a crawl space with headroom is faster than a 16-inch-tall space where our crew is working on their backs. Wall work costs more because it involves drywall cutting, careful removal of the old barrier without damaging the Rockwool, and patching afterward.
Every quote includes the barrier material itself, proper seam taping and sealing, reinstallation of any Rockwool batts that are still in good shape, and full cleanup. We don’t charge for disposal and we don’t add trip charges inside our service county. All of it falls under the Done Right Promise, which is our lifetime workmanship guarantee: if it’s not done right, we make it right. No runaround, no fine print. Standing offers apply too: $40 off any repair over $200, a free second opinion on any written estimate, and 10% off for seniors and veterans, always.
DIY or Call Us?
Crawl space vapor barrier replacement is honest work but it’s miserable in the tight, dark spaces under Huntington Beach homes, and getting the seams sealed properly is where most DIY jobs fail. If the barrier isn’t lapped and taped correctly at every seam and penetration, it’s doing maybe half its job, and you’ll be back under there in two years. Wall cavity work is a different conversation: opening drywall without knowing what’s behind it means risking electrical wiring, plumbing, or just making a mess that costs more to fix than the original repair.
The one honest shortcut: if you can see the tear or gap in your crawl space barrier and it’s a clean, simple section, you can patch it with overlapping 6-mil poly and proper seam tape. That buys you time. But if you’re seeing the symptoms above, especially damp drywall or musty smells, you need a real inspection. Call (657) 222-2148 and we’ll walk you through it over the phone, then come look in person. No charge for the estimate.
FAQs
A properly installed vapor barrier should last 20 to 30 years in Huntington Beach’s climate. If yours failed in under a decade, it was likely installed with the wrong material, poor seam sealing, or got punctured during other work. Coastal moisture accelerates deterioration in cheap poly, which is why we install 10-mil reinforced sheeting in crawl spaces. Call (657) 222-2148 for an inspection if you suspect yours is failing early.
Small tears and gaps in crawl space barriers can often be patched if the surrounding material is still sound, and we’ll tell you honestly if a repair makes sense. Wall cavity barriers are different: accessing the damaged section usually means opening the wall anyway, so replacement of that cavity’s barrier is the more cost-effective move. We’ll give you both options with straight pricing.
Most crawl space vapor barrier replacements in Huntington Beach take one day, including removal of the old material and full installation of the new barrier. Wall cavity work varies depending on how much drywall needs to open, but a single room is usually a two-day job with patching. We’ll give you a firm timeline with your quote.
Yes, we stock 6-mil and 10-mil vapor barrier sheeting, seam tape, and Rockwool batts on our trucks, along with related materials for Reflectix applications and other brands including Owens Corning and CertainTeed. That’s why we can often start work the same day we inspect. Call (657) 222-2148 to confirm availability for your specific setup.
Written by Walt Brenner, Owner, Walt’s Insulation at Walt’s Insulation, serving Huntington Beach and nearby areas.